Detailed APIs
Enable notifications
The notification system is built in in the SDK based on the FCM framework (Firebase Cloud Messages), which is the default system to receive notifications in the Android OS.
Warning: Since FCM uses the Google Play Services framework, HALO cannot receive notifications in those mobile phones that does not support the Google Play Store with Play services.
Based on the HALO backend you can send many data in the notifications and segment depending on the segmentation of the users present in the system. In this guide we will show you how to enable the notifications on the SDK and how to handle some custom actions on those notifications.
Step 1. Configure a FCM project
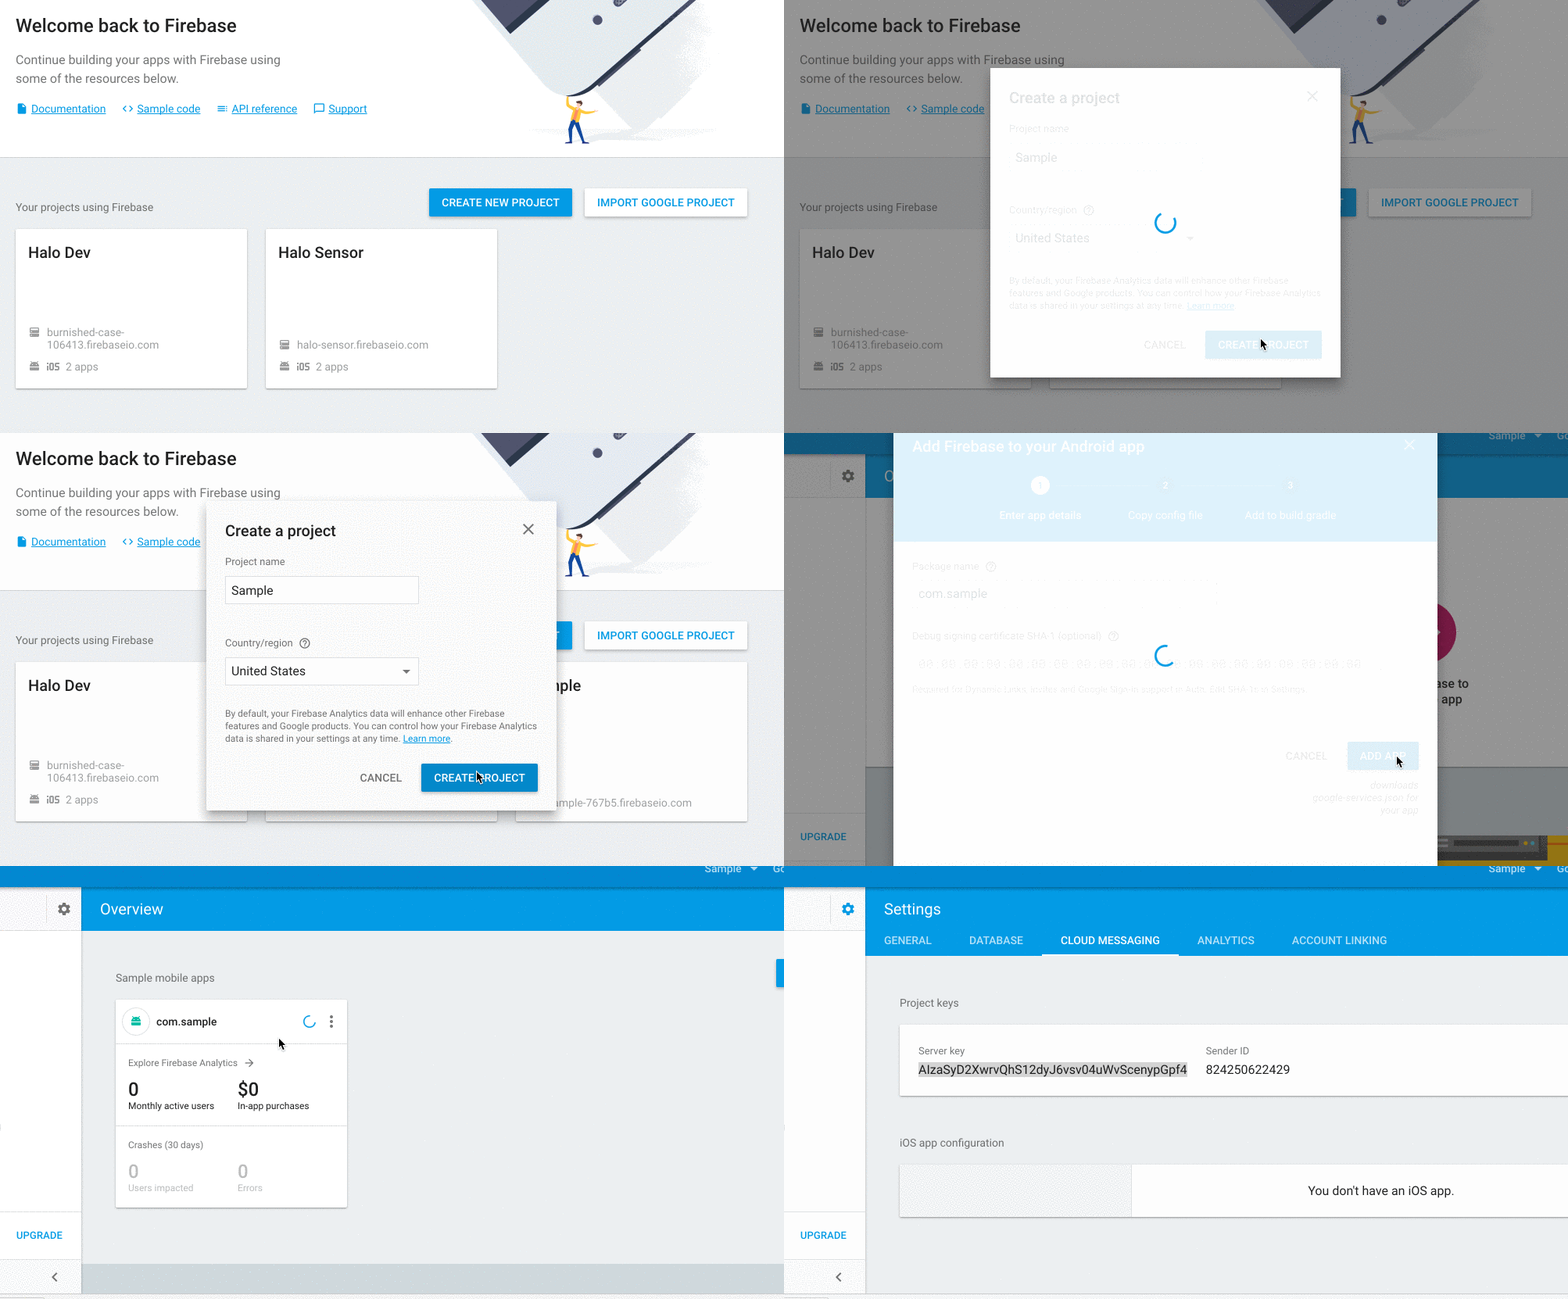
First of all we need to create a FCM project in the Firebase Console. If you already have an FCM project configured you can go directly to 3. If you already have an app with the given package configured go to 6.
- Click on 'Create New Project' button.
- Fill in the project name and the country/region.
- Enter the project and click on 'Add app'.
- Click on 'Add Firebase to your Android App'.
- Fill in your package name of the app and the debug certificate SHA-1.
- Click on the app menu you want receive the push notifications and select 'Manage'.
- There select cloud messaging.
- Write down the server key. It looks like 'AIzaSyAtN64Y0**********-*************'
Step 2. Add the Server key to HALO
Take the Server API Key obtained in the previous step and put it in the administration console of HALO.:
- Do login in HALO as an admin.
- Go to your apps.
- Select the application you are enabling the push notifications to.
- Update the app filling the Android key field with your server key.
Step 3. Enable the notifications in the SDK
To enable the notifications inside your app you have to add the HALO plugin. Once done, in your HALO properties closure enable the notifications service. Take the following code of a build.gradle as an example.
halo {
    ...
    services {
        notifications true
    }
    ...
}
Step 4. Add Google Play Configuration File
Take the file obtained in the Step 1 of this tutorial and place it in the root of your application module or in your flavor folder named as "google-services.json".
React to a notification
In HALO we support two different notification types. Normal notifications and silent notifications. Normal notifications includes the UI that shows the user a notification was received, while silent notifications only notify you in a callback to perform some background work.
With this silent notifications the SDK will not display any UI but also will not perform any action. As a developer you have to put an entry point so we can send you the information received. In this guide we tell you how to do it. Follow the instructions below to add a listener.
1. Create the listener
This instance will receive the notifications for those notifications that will be listened with the HaloNotificationListener. Here you can check an example:
public class NotificationReceiver implements HaloNotificationListener {

    @Override
    public void onNotificationReceived(@NonNull Context context, @NonNull String from, @NonNull Bundle data, @Nullable Bundle extra){
        //Do something with this data
    }
}
2. Attach this listener to HALO
You can attach the listener to listen not silent, silent or all notifications:
notificationsApi.listenAllNotifications(new NotificationReceiver()); // All
notificationsApi.listenNotSilentNotifications(new NotificationReceiver()); //Not silent
notificationsApi.listenSilentNotifications(new NotificationReceiver()); //Silent
Set custom notification id
You can attach custom id generation to change the way the notification will be created. Also you can modify the bundle data of the notification.
notificationsApi.customIdGeneration(new CustomIdGeneration() {
            @Override
            public int getNextNotificationId(@NonNull Bundle data, int currentId) {
                //you can update your bundle
                data.putInt("customData","customData");
                //you can modify how notification id creation
                int miCustomID = generateNotificationIdMethod();
                return miCustomID;
            }
        });
Get UI notification id
When a notification is displayed in the UI, this notifications has an unique id assigned so you can perform some actions on it, like cancelling. You can access to this id in the data bundle provided in the notification callback. There is a helper method in the api to do so:
Integer notificationId = notificationsApi.getNotificationId(bundle);
Keep in mind this method returns null if there is no notification id attcached to the notification. This means there is no UI displayed linked to the received notification.
Customize notification displayed
Behind the scenes, when the server sends the notification to the Google Firebase Services, it can send information in two ways:
- Providing a notification payload: This generates a notification automatically and you cannot handle this behaviour.
- Providing a data payload: The data payload allows you to handle whatever action you need.
In Android, HALO always handles the notifications using the NotificationService and the data payload.
Since we create the notifications manually, we have designed every single functional addition to the notifications as a decorator pattern. The base decorator class is HaloNotificationDecorator which is extended by many classes in the SDK that finally are chained to add the behaviour to the Android NotificationCompat.Builder.
To modify something in the notifications, we provide a method so you can handle or add behaviour to this notification just by extending the HaloNotificationDecorator class. Here you have the example guide to put an icon on the notification.
If you return null in your custom decorator the notification will not be displayed.
Notification with image support
If your payload contains image object, as follows, HALO will handle different custom notification UI for you. The layout types are one of the following:
["default","top", "left", "right", "bottom", "background", "expanded"]
{
    "data": {
        "image": {
            "url": "http://imageurl" ,
            "layout": "background"
            }
      }
}
We show you the different layout configurations:
| Layout type | Example |
|---|---|
| default | 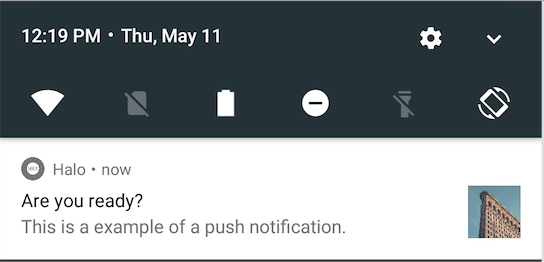 |
| expanded | 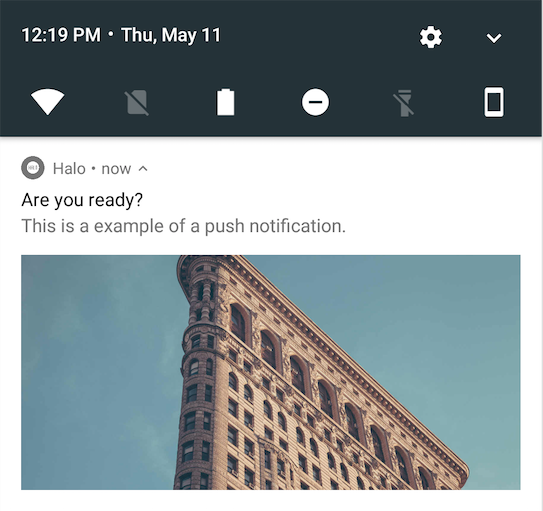 |
| left | 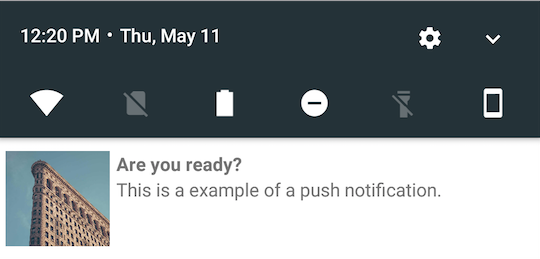 |
| right | 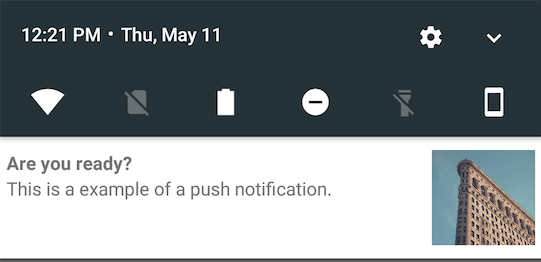 |
| top | 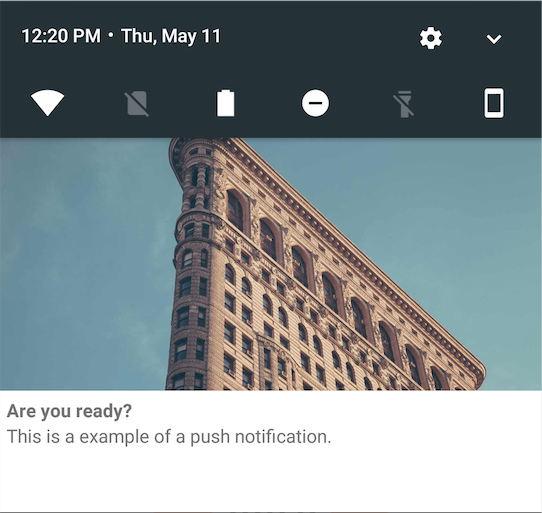 |
| bottom | 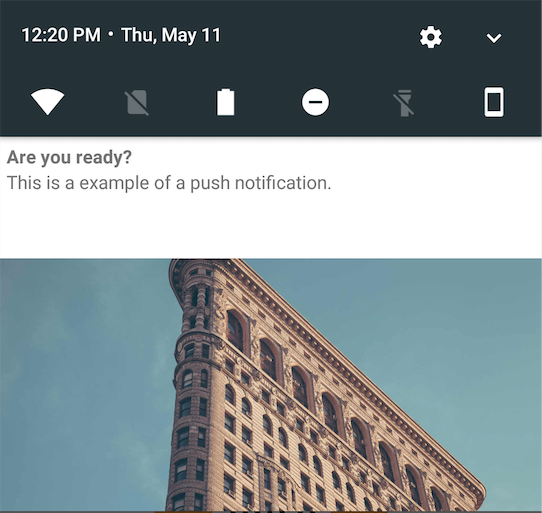 |
| background | 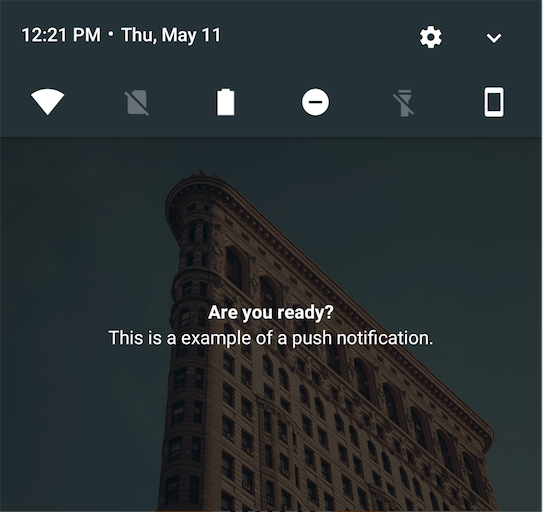 |
1. Create custom decorator
We are providing a custom implementation of the icon decorator:
public class CustomIconDecorator extends HaloNotificationDecorator {

    public NotificationIconDecorator(){
        super();
    }

    @Override
    public NotificationCompat.Builder decorate (@NonNull NotificationCompat.Builder builder, @NonNull Bundle bundle) {
        builder.setSmallIcon(R.drawable.myNotificationIcon);
        //You can return also null if you want this notification not to appear
        return builder;
    }
}
2. Add decorator to HALO
If you want to add this decorator to the notification service you can do it while in the install process of HALO:
notificationsApi.setNotificationDecorator(new CustomIconDecorator());
As it is a Decorator, you can always chain as many decorators as you want by calling the method NotificationDecorator#chain(builder, bundle).
This also can be used for example to execute an intent when the user clicks on the notification, and you are allowed to chain multiple decorators in the following way:
new PendingIntentDecorator(context, new CustomIconDecorator());
Example of a decorator to add notification behavior
public class PendingIntentDecorator extends HaloNotificationDecorator {

    private Context mContext;

    public CustomNotificationDecorator(Context context, HaloNotificationDecorator decorator) {
        super(decorator);
        mContext = context;
    }

    @Override
    public NotificationCompat.Builder decorate(NotificationCompat.Builder builder, Bundle bundle) {
        Intent intent = new Intent(ctx, MainActivity.class);
        PendingIntent pendingIntent = PendingIntent.getActivity(ctx, 0, intent, 0);
        builder.setContentIntent(pendingIntent);
        return chain(builder, bundle);
    }
}
If you want to get the custom decorator of the notification service you can do it:
notificationsApi.getNotificationDecorator();